DESCRIPTION
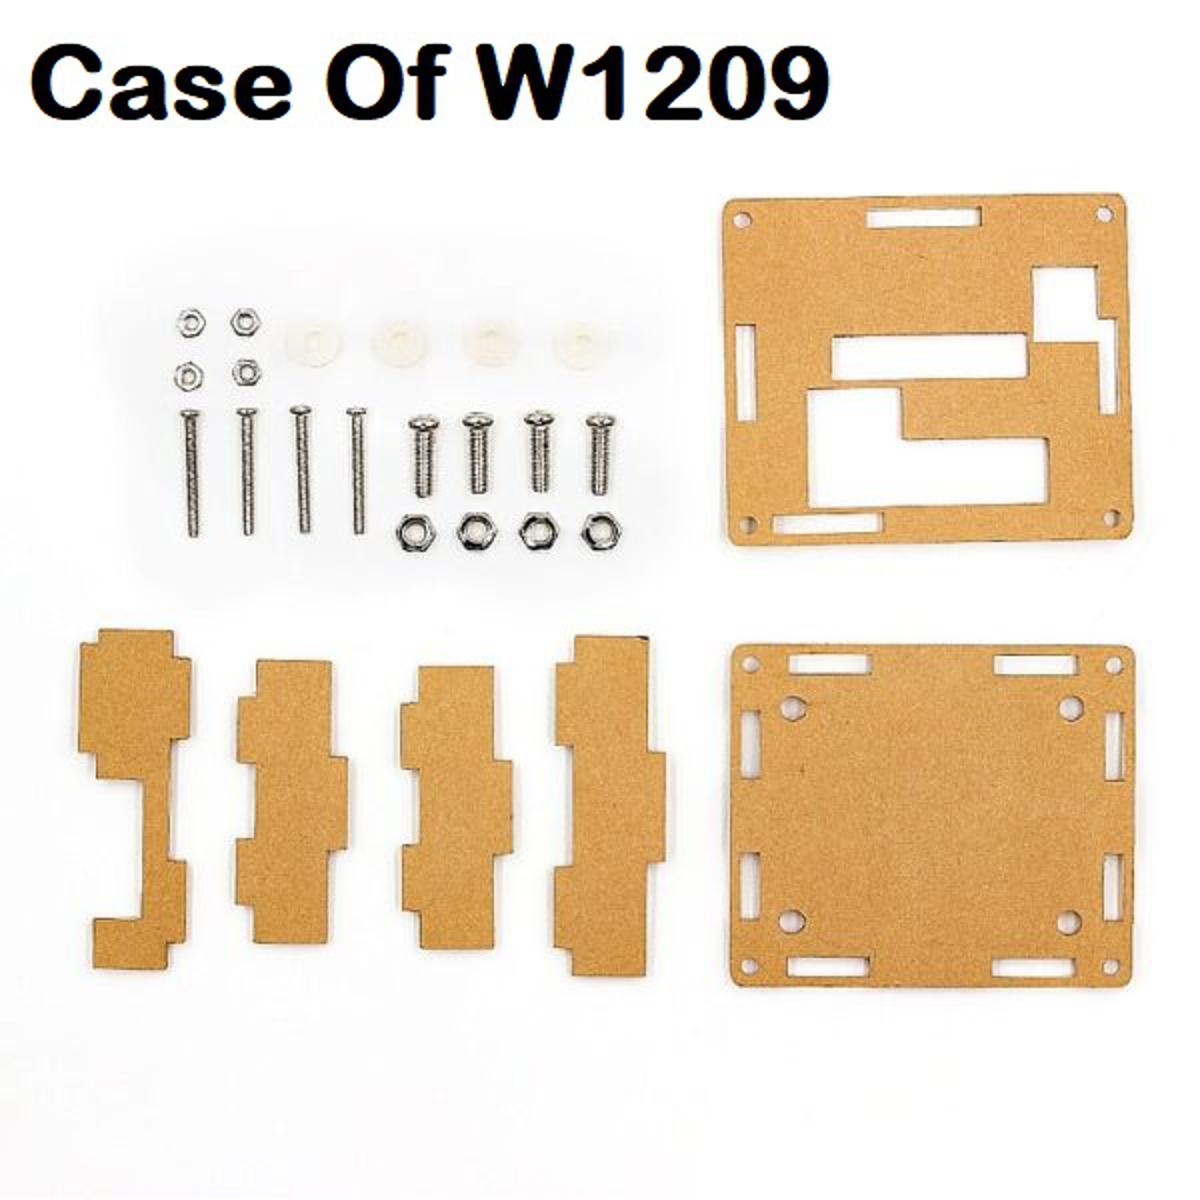
This acrylic enclosure fits the popular W1209 Temperature Controller Module to help protect and electrically insulate the module.
PACKAGE INCLUDES:
- 6 clear acrylic pieces
- 4 sets of W1209 mounting hardware (large screws, nuts and acrylic spacers)
- 4 sets of enclosure fastening hardware (small screws and nuts)
OUR EVALUATION RESULTS:
These enclosures work well to enclose the module to provide a level of safety if it is being used to switch AC power and they look pretty good doing it.
Assembly is straight forward. Here are the basic steps to follow:
- Remove protective paper from acrylic pieces.
- Insert one of the larger M3 screws into one of the 4 mounting holes in the corners of the module. Hold one of the round acrylic spacers on the back-side of the module and using a screwdriver, thread the screw into the acrylic spacer to hold it in place. Repeat for all 4 corners of the module.
- Place the module on the bottom piece of acrylic which is the more solid of the two large pieces and attach it using the 4 larger nuts.
- Insert each of the 4 side pieces into the slots in the bottom piece of acrylic. Ensure the side piece with the cut-out is placed on the side with the screw terminals for wire access.
- Place the top acrylic piece on top and guide the tabs into the slots in the top piece.
- Install the 4 small long screws into the 4 corners of the case and fasten with the nuts. Do not tighten to firmly or the acrylic will bend.
Notes:
- This case will not fit the XH-W1219 module because it is larger than the W-1209 module
TECHNICAL SPECIFICATIONS
- Remove protective paper from acrylic pieces.
- Insert one of the larger M3 screws into one of the 4 mounting holes in the corners of the module. Hold one of the round acrylic spacers on the back-side of the module and using a screwdriver, thread the screw into the acrylic spacer to hold it in place. Repeat for all 4 corners of the module.
- Place the module on the bottom piece of acrylic which is the more solid of the two large pieces and attach it using the 4 larger nuts.
- Insert each of the 4 side pieces into the slots in the bottom piece of acrylic. Ensure the side piece with the cut-out is placed on the side with the screw terminals for wire access.
- Place the top acrylic piece on top and guide the tabs into the slots in the top piece.
- Install the 4 small long screws into the 4 corners of the case and fasten with the nuts. Do not tighten to firmly or the acrylic will bend
Customer Questions and answers :
Login to ask a question
 Global Finds
  Quick Commerce
  Grocery
  Electronics & Appliances
  Mother, Baby & Toys
 _20.png) Beauty
Beauty  Sports
  Automotive
  Stationery, Books & Music
 _20.png) Fashion Luxe
Fashion Luxe  Daily Bazar
 _20.jpeg) Home
Home  Garden & Pet Care
  Special Weekly Offer
  Global Finds
  Quick Commerce
  Grocery
  Electronics & Appliances
  Mother, Baby & Toys
 _20.png) Beauty
Beauty  Sports
  Automotive
  Stationery, Books & Music
 _20.png) Fashion Luxe
Fashion Luxe  Daily Bazar
 _20.jpeg) Home
Home  Garden & Pet Care
  Special Weekly Offer


