

 Global Finds
  Quick Commerce
  Daily Bazar
  Electronics & Appliances
  Mother, Baby & Toys
  Beauty
  Sports
  Automotive
  Stationery, Books & Music
 _20.png) Fashion Luxe
Fashion Luxe  Jersey
  Sports Shoes
  Fashion
 _20.jpeg) Home
Home  Garden & Pet Care
  Special Weekly Offer
  Grocery
  Global Finds
  Quick Commerce
  Daily Bazar
  Electronics & Appliances
  Mother, Baby & Toys
  Beauty
  Sports
  Automotive
  Stationery, Books & Music
 _20.png) Fashion Luxe
Fashion Luxe  Jersey
  Sports Shoes
  Fashion
 _20.jpeg) Home
Home  Garden & Pet Care
  Special Weekly Offer
  Grocery


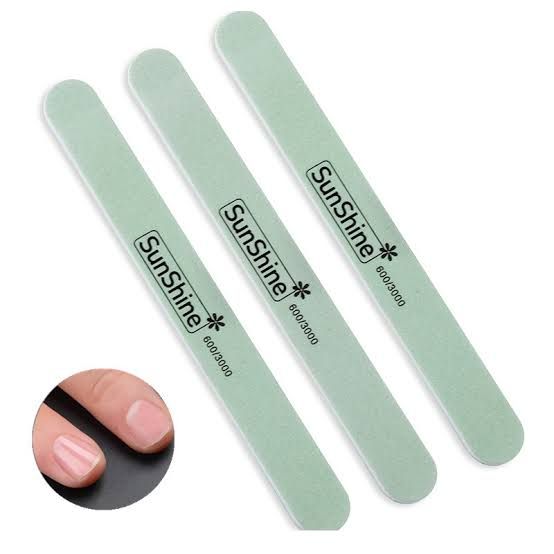
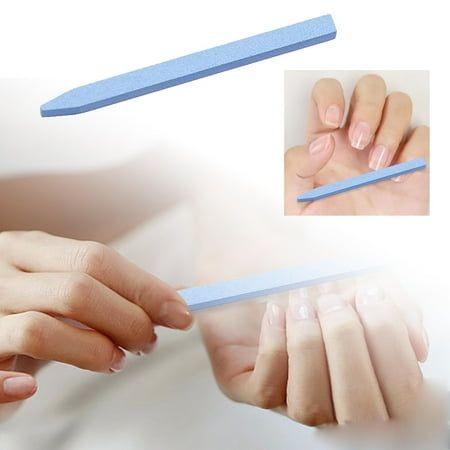
Nail buffers are essential tools for nail care, designed to smooth, polish, and enhance the natural shine of your nails. Unlike nail files, which shape the edges of your nails, buffers focus on the nail plate to address issues like ridges, stains, and uneven surfaces2.
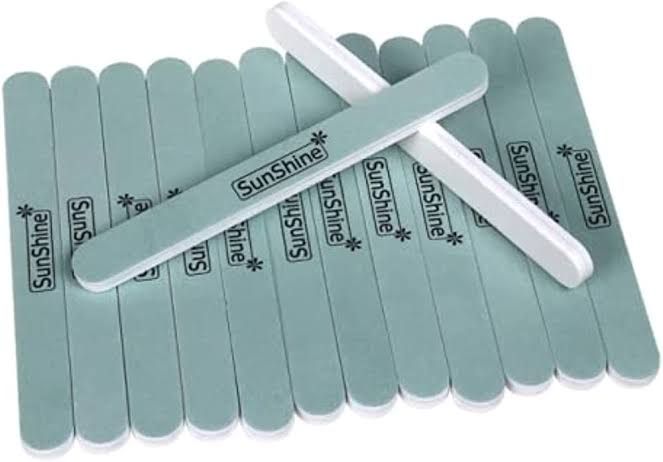
Here are some common types of nail buffers:
4-Way Buffing Blocks: These versatile tools have four distinct surfaces for shaping, smoothing, and shining nails.
Chamois Buffers: Used with buffing cream, they provide a glossy finish.
Glass or Crystal Buffers: Ideal for achieving a natural shine without polish.
Sanding Block Buffers: Rectangular sponges with varying grit levels for smoothing ridges and rough spots.
Each type serves a specific purpose, ensuring your nails look healthy and polished.
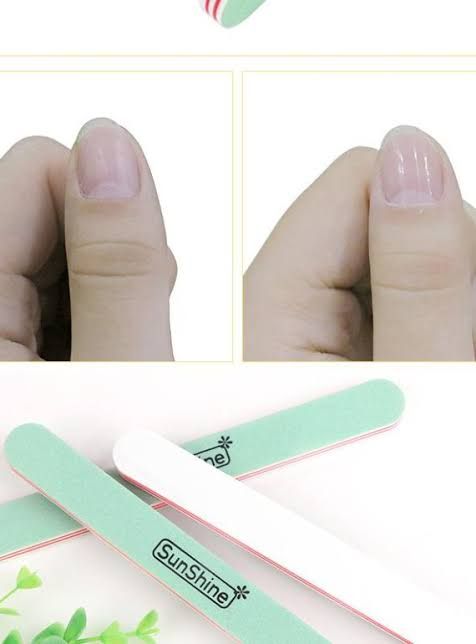
Using a nail buffer properly is simple and can make a big difference in your nail care routine. Here are the steps to follow:
Clean Your Nails: Start with clean, dry nails. Remove any polish or residue.
Shape Your Nails (Optional): Use a nail file or nail board to shape the edges of your nails before buffing.
Use the Buffer in the Right Order: Most buffers have multiple sides or steps (labeled with numbers or descriptions). Follow this sequence:
Start with the roughest side to gently smooth out ridges and uneven surfaces.
Move to the medium side to refine and further smooth the nail.
Finish with the smoothest side to polish and enhance the natural shine.
Buff in One Direction: Use gentle, even strokes or circular motions along the nail surface. Avoid excessive buffing, as it can thin out your nails.
Clean the Buffer: Wipe your nail buffer after use to remove any nail dust.
Apply Moisturizer: Hydrate your hands and nails after buffing to keep them healthy.
Remember, you don’t need to buff your nails every day—once a week or so is usually enough.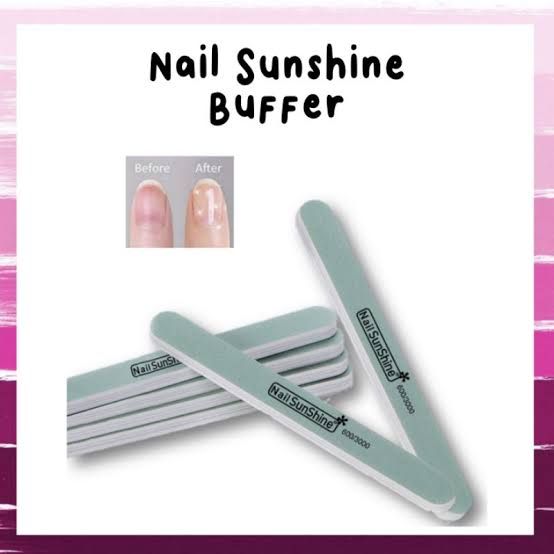

Login to ask a question
